
Artefacts AI
The AI-based 3D design platform utilizes advanced AI technology to transform text descriptions into 3D models and scenes in real time, providing creative workers with convenient and efficient creation tools.
AI-based 3D creation tool that realizes fast conversion of text to 3D models and pictures to 3D models, applicable to game development, CGI production, animation creation and many other fields.
 Meshy AI
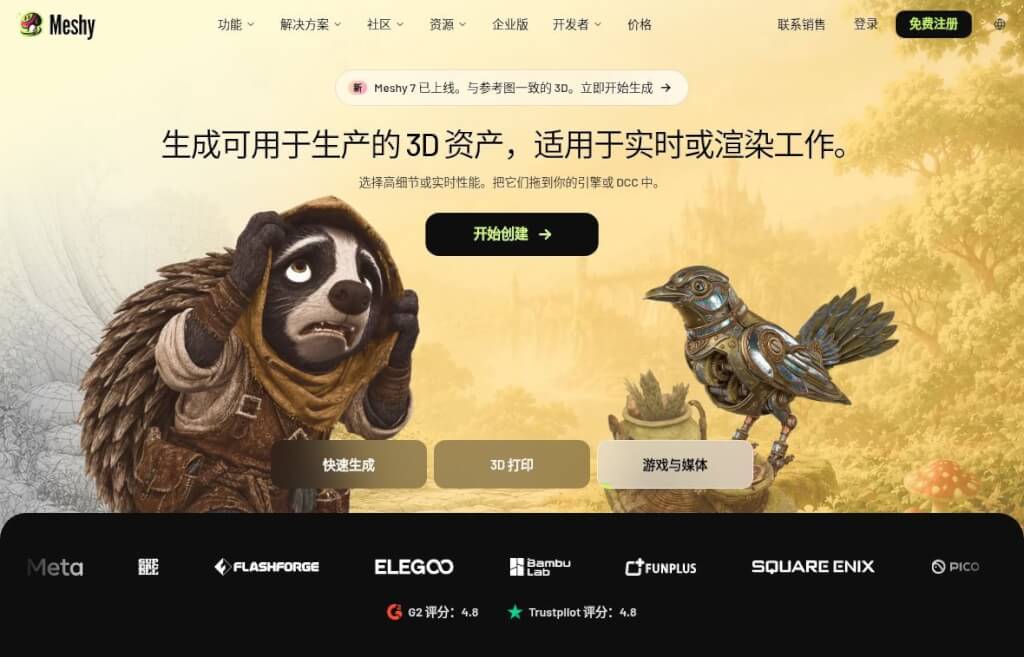
MeshyIt is an AI-powered 3D creation platform that can generate 3D models based on text, photos, sketches, or concept art, and provides tools for texturing, mesh editing, skeleton rigging, and animation. The resulting models can be rotated for viewing, exported, and imported into other 3D software, making it ideal for game prototyping, animation pre-visualization, visual design, and 3D printing projects.
Meshy was founded by Yuanming “Ethan” Hu, who holds a Ph.D. in computer science from MIT and has research experience in computer graphics. The official product timeline began with Meshy-1 in October 2023, followed by continuous expansion of its capabilities in geometry generation, texturing, and asset processing. For beginners, it lowers the barrier to creating their first 3D model; for professional teams, it is best suited for concept exploration and initial asset drafts, though subsequent work must still meet the project’s quality and performance standards.
The 3D Agent, launched in June 2026, introduced a conversational workflow that allows users to discuss design directions, generate concept art, and then convert the selected design into a model. Meshy 7.1, released in September, focuses on enhancing geometric detail and offers Ultra 2K and Ultra 4K quality options. The term “4K” here refers to the level of geometric detail and should not be interpreted as texture resolution; high-detail models are not necessarily suitable for real-time gaming or 3D printing.
Text to 3D is suitable for tasks where you only have an idea but haven't yet decided on the final design;Image to 3DThis task is suitable for cases where you already have character art, photos of objects, or design sketches. The "multiple-view" input option allows you to supplement structural information with images of the same object from up to four different angles, while "batch generation" converts different images into separate models. The two options use different methods for organizing source material; you cannot treat four different objects as four views of the same object.
The back, bottom, and obscured areas not shown in a single image still require inference based on the model. Clearly separated subjects, recognizable outlines, and consistent multi-view footage help reduce structural ambiguity. For props with holes, thin plates, fingers, or overlapping limbs, pay special attention to check for fusion, missing parts, or extraneous geometry.
Remesh and other low-polygon-count tools can help refine the mesh, making the model better suited for subsequent uses. When creating models for web displays or game props, it’s important to balance contour fidelity with polygon count; when creating close-up statues or models for 3D printing, the focus shifts to detail, closed geometry, and thickness. A model’s surface may appear detailed due to its geometry or its materials; these aspects should be evaluated separately during quality checks.
AI Texturing can create PBR materials based on text or reference images, including maps such as color, normal, roughness, and metalness. It is generally easier to manage revisions if you define the geometry first and then refine the materials. Be sure to rotate the model to check seams, back-side patterns, and areas with different materials, rather than relying solely on the default front-view render.
Auto-Binding can create a skeleton and skin weights for suitable characters, and also supports importing FBX, OBJ, or GLB models. A clear T-pose or A-pose helps with limb positioning. Once complete, you can preview the animation and export it in formats such as FBX or GLB for further production.
Successful skeleton generation only indicates that the underlying structure is in place; you still need to check for deformation in the shoulders, elbows, hips, knees, clothing, and accessories. Detailed facial expressions, complex gear, or specialized character controls typically require further work in software such as Blender or Maya.
If you don’t have reference images ready yet, you can first describe the intended use and style in 3D Agent, let it suggest creative directions and generate several concepts, and then select the appropriate design to convert into a 3D model. By integrating the ideation and early modeling phases into a continuous dialogue, it’s well-suited for users unfamiliar with 3D terminology; however, specific constraints regarding dimensions, motion, and performance should still be specified in the requirements and verified in the final software.
Before you begin, you must verify your “Generation” and “Download” entitlements separately. Meshy 7.1 allows registered users to generate content, but downloading models in this version—as well as the Ultra 2K and Ultra 4K tiers—requires a subscription; Ultra 4K supports single-viewpoint generation only. The CC BY 4.0 license for free plan outputs and paid asset entitlements do not replace the need to confirm specific model download permissions. When uploading customer designs or brand assets, you must also verify the licensing of the original materials and asset visibility.
With the goal of “turning a single prop or character concept art into an exportable 3D asset,” it can be directly compared to Tripo and Hyper3D Rodin.
| artifact | Workflow Focus Areas | When making your selection, be sure to pay close attention to |
|---|---|---|
| Meshy | Offers text, single-image, and multi-angle generation, along with texturing, meshing, and rigging tools; concepts can also be discussed via 3D Agent before generation. | This should be given priority consideration when you need to progress step by step from the initial concept to a preliminary draft of the asset and wish to complete various post-processing tasks on the same platform. |
| Tripo | This includes model creation, component segmentation, retopology, texturing, rigging, and workflows for connecting DCC software to game engines. | When it is necessary to break down model components, manage the topology, and integrate with existing production software, it is important to carefully evaluate how these processes interface with one another. |
| Hyper3D Rodin | Generate 3D geometry from images, sketches, text, or multi-view data, and provide previews and export options in multiple formats. | There are already clear references available; the key point is that when obtaining a model that can be further processed, you can use the same source material to compare the structure with the exported results. |
When comparing models, inspect the back-side geometry, slices and voids, number of faces, material seams, and how the model renders in the target software; also factor in the costs of generation, re-rendering, downloading, and manual refinement. The high-quality turntable videos displayed on the platform are no substitute for inspecting the actual asset files.


 简体中文 简体中文
 English